반응형
TextView
- 문자열을 출력하는 뷰이다.
●text : 문자열을 지정하는 속성이다.
●textStyle : 문자열에 효과를 주는 속성이다.normal, bold, italic 값을 지정할 수 있다.
●textColor : 문자열에 색상을 지정할 수 있다.
●textSize : 문자열 크기를 설정할 수 있다.
●autoLink : url주소, 이메일, 전화번호 등과 같은 문자열에 지정한 형태로 링크효과를 준다.ex)web, email,phone..
●maxLines : 특정줄만큼 출력한다.
<?xml version="1.0" encoding="utf-8"?>
<androidx.constraintlayout.widget.ConstraintLayout xmlns:android="http://schemas.android.com/apk/res/android"
    xmlns:app="http://schemas.android.com/apk/res-auto"
    xmlns:tools="http://schemas.android.com/tools"
    android:layout_width="match_parent"
    android:layout_height="match_parent"
    tools:context=".MainActivity">

    <TextView
        android:layout_width="wrap_content"
        android:layout_height="wrap_content"
        android:text="Hello World! https://naver.com hello world"
        android:textStyle="bold"
        android:textColor="@color/purple_200"
        android:autoLink="web"
        android:maxLines="3"
        android:ellipsize="end"
        app:layout_constraintBottom_toBottomOf="parent"
        app:layout_constraintEnd_toEndOf="parent"
        app:layout_constraintStart_toStartOf="parent"
        app:layout_constraintTop_toTopOf="parent" />

</androidx.constraintlayout.widget.ConstraintLayout>

EditText
-사용자에게 입려값을 받을때 사용하는 뷰이다.
●inputType : 입력타입을 설정한다. ex)phone, number, textEmailAddress,textPassword
<?xml version="1.0" encoding="utf-8"?>
<androidx.constraintlayout.widget.ConstraintLayout xmlns:android="http://schemas.android.com/apk/res/android"
    xmlns:app="http://schemas.android.com/apk/res-auto"
    xmlns:tools="http://schemas.android.com/tools"
    android:layout_width="match_parent"
    android:layout_height="match_parent"
    tools:context=".MainActivity">

    <EditText
        android:layout_width="match_parent"
        android:layout_height="match_parent"
        android:lines="2"
        android:inputType="phone"
        android:background="@color/purple_200"
        android:gravity="center"
        android:hint="hi"></EditText>


</androidx.constraintlayout.widget.ConstraintLayout>
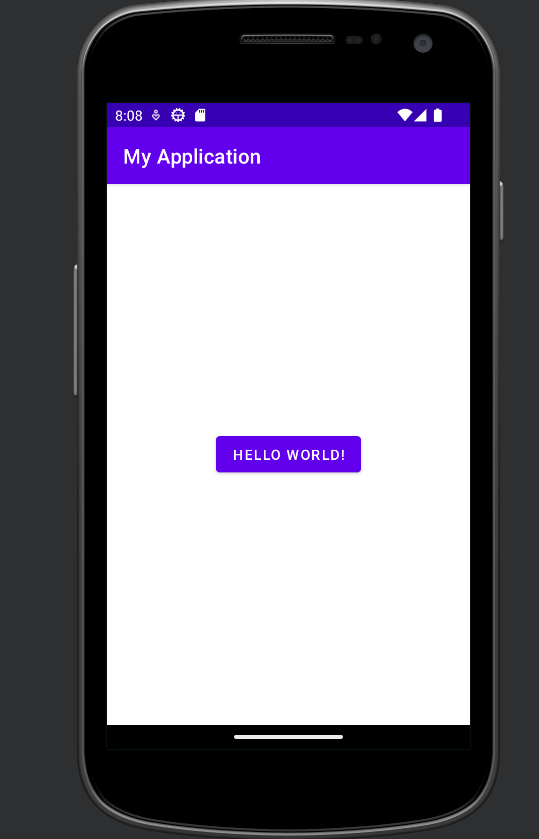
Button
-버튼을 노출할때 사용하는 뷰니다. textView 속성 대부분 이용가능하다.
<?xml version="1.0" encoding="utf-8"?>
<androidx.constraintlayout.widget.ConstraintLayout xmlns:android="http://schemas.android.com/apk/res/android"
    xmlns:app="http://schemas.android.com/apk/res-auto"
    xmlns:tools="http://schemas.android.com/tools"
    android:layout_width="match_parent"
    android:layout_height="match_parent"
    tools:context=".MainActivity">

    <Button
        android:layout_width="match_parent"
        android:layout_height="match_parent"
        android:background="@color/purple_200"
        android:text="button"></Button>


</androidx.constraintlayout.widget.ConstraintLayout>
2023.01.23 - [프로그래밍/안드로이드] - #11.안드로이드 ImageView, Checkbox
#11.안드로이드 ImageView, Checkbox
ImageView - 이미지를 노출할때 사용하는 뷰이다. Checkbox -TextView의 서브 클래스라서 TextView에 설정하는 속성값 사용가능하다. package com.example.myapplication; import androidx.appcompat.app.AppCompatActivity; import and
hyunssssss.tistory.com
반응형
'프로그래밍 > 안드로이드' 카테고리의 다른 글
| 맥북 안드로이드 스튜디오, xcode 설치하는 법 (0) | 2023.03.08 |
|---|---|
| #11.안드로이드 ImageView, Checkbox (0) | 2023.01.23 |
| #9.안드로이드 뷰 속성 (0) | 2023.01.15 |
| #8.안드로이드 각 액티비티 독립적으로 테스트하는 방법 (0) | 2023.01.15 |
| #7.안드로이드 액티비티, 뷰 (1) | 2023.01.15 |


댓글